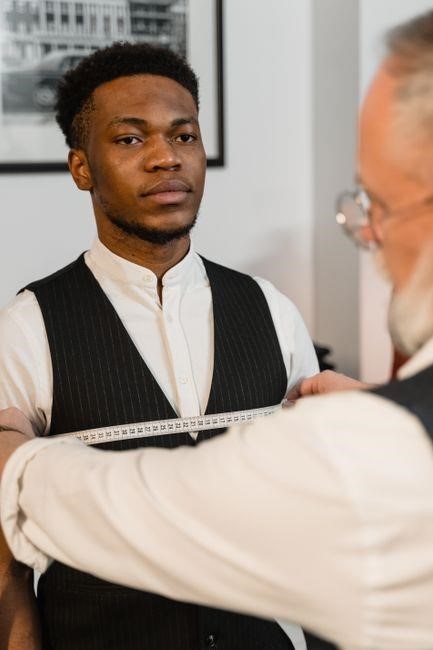
Before buying a jacket, know that size hinges on chest, shoulder width, and sleeve length. Accurate measurements ensure comfort and style, preventing ill-fitting coats that sag or feel tight. Measure each dimension carefully, then compare with brand charts.Use a flexible tape for fit today!?
Importance of Accurate Fit for Comfort and Style
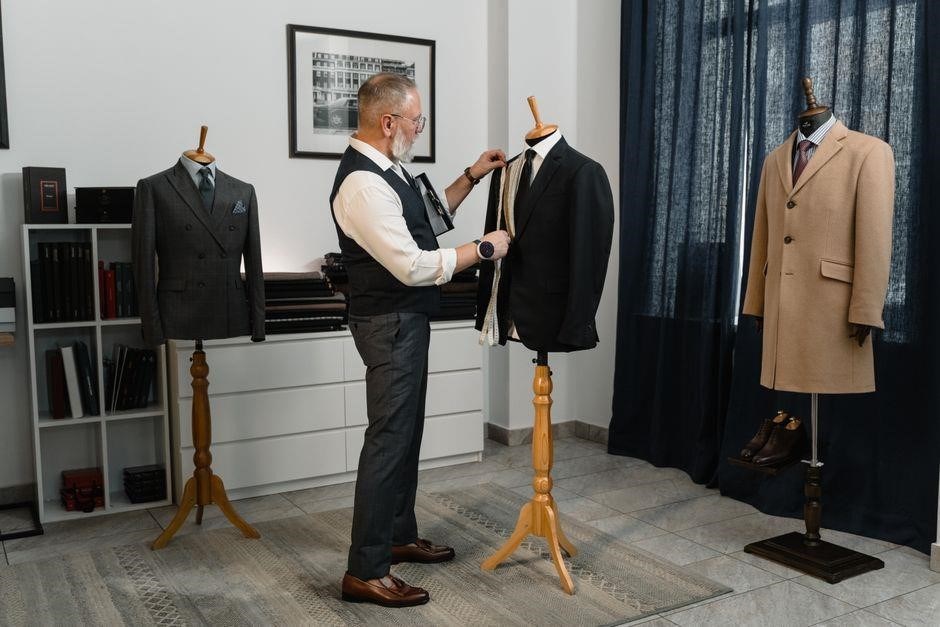
Accurate jacket measurements are essential for both comfort and style. A well‑fitting jacket allows natural movement, keeps you warm without excess bulk, and presents a polished silhouette. When chest width, shoulder span, and sleeve length are measured correctly, the garment drapes evenly over the body, preventing gaping at the waist or shoulders. This precision ensures pockets sit at the right height, buttons align, and proportions match the wearer’s frame. An ill‑fitted jacket can feel constricting, cause heat loss, or create a boxy appearance that undermines confidence. By taking the time to measure each key dimension—wrapping the tape around the fullest part of the chest, aligning the shoulder measurement from armhole to armhole, and measuring sleeve length from the shoulder seam to the cuff—shoppers can select a size that mirrors their natural proportions. Brands provide detailed size charts that translate these numbers into specific sizes, but the accuracy of the initial measurement determines whether the chart’s guidance will truly work. A jacket enhances everyday wear and offers comfort, a refined look that reflects thoughtful attention to detail. Moreover, the right fit reduces the need for alterations, saving time and money. Tailoring a jacket that already aligns with your measurements is simpler and more cost‑effective than adjusting a poorly sized piece. Many online retailers now include video tutorials and measurement guides, reinforcing the importance of precision. By following these resources, shoppers can avoid common pitfalls such as misreading chest versus bust measurements or overlooking sleeve length variations between slim and regular cuts!!!
Common Measurement Errors and How to Avoid Them
Even seasoned shoppers can fall into subtle pitfalls when measuring for a jacket. The most frequent mistake is wrapping the tape too loosely around the chest, which inflates the reading by several centimeters and pushes the buyer toward a larger size. To counter this, keep the tape snug but not tight, and stop at the natural waistline beneath the arms. Another common slip is misaligning the shoulder measurement; many people measure from the center back to the center front, ignoring the true shoulder width that spans from one shoulder seam to the other. Use a flat surface and a friend to help hold the tape at the shoulder seam for accuracy. Sleeve length errors also plague buyers: measuring from the shoulder seam to the cuff without accounting for the elbow bend can produce a sleeve that is too short or too long. The solution is to lay the arm straight, measure from the top of the shoulder to the wrist, then add a few centimeters for cuff flare. Finally, many shoppers confuse chest circumference with bust measurement, especially when buying for women. Chest is measured at the fullest part of the torso, while bust includes the bust line; using the wrong figure can skew the entire size selection. By following a step‑by‑step checklist—tight but relaxed shoulder span, accurate sleeve length, and correct chest versus bust distinction—buyers can avoid a misfit jacket and enjoy a garment that feels tailored from first wear.
Essential Body Measurements for Jacket Fitting
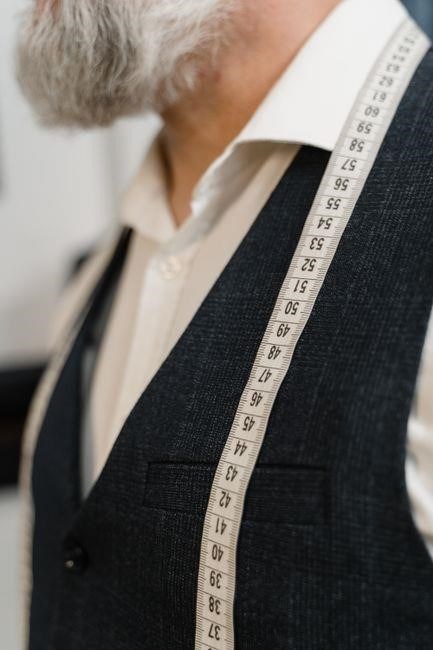
Measure chest at fullest part, shoulder width from seam to seam, sleeve length from shoulder to wrist, and waist for fit. fitUse a flexible tape, keep it snug but not tight, and double‑check each reading against brand charts for accuracy.
Chest Width and Circumference Guidelines
When measuring chest width, wrap the tape measure around the fullest part of the chest, directly under the armpits, ensuring it is level across the back. The measurement should be taken with the arms relaxed and the body in a natural standing position. This chest circumference is the key determinant for jacket size, as it dictates how the garment will sit across the torso. For most brands, a chest width of 38 inches typically corresponds to a size medium, while 42 inches aligns with a size large. However, variations exist between manufacturers, so always cross‑reference the specific brand’s size chart. Additionally, consider the jacket’s intended fit—slim, regular, or relaxed—since a slim fit may require a slightly smaller chest measurement to avoid excess bulk. If you fall between sizes, it is often safer to choose the larger size and rely on tailoring for a perfect fit. Remember to double‑check the measurement by comparing it to the chest width listed in the brand’s online size guide, as some labels may use metric units or different sizing conventions. Accurate chest measurement ensures the jacket drapes correctly, providing both comfort and a polished silhouette. To avoid overestimating, keep the tape snug but not tight; a loose tape can inflate the measurement by a few inches, leading to a jacket that feels too loose. Finally, record the measurement in both inches and centimeters to simplify cross‑checking with international sizing charts. When taking the measurement, ensure the tape is parallel to the floor and not twisted; a twisted tape can produce inconsistent readings. If possible, have someone assist you to maintain proper tension and alignment. This practice guarantees consistency across different brands. By following these guidelines, you can confidently select a jacket that fits well and complements your style.
Shoulder and Sleeve Length Measurements
Measure shoulder width by placing the tape from the outer edge of one shoulder to the outer edge of the opposite shoulder, keeping the tape level across the back. For sleeve length, start at the shoulder seam, run the tape down the outer arm to the wrist bone, and add a few inches for cuff allowance. Record both measurements in inches and centimeters, then consult the brand’s size chart to find the best fit. Accurate shoulder and sleeve measurements ensure the jacket sits properly on the shoulders and falls at the desired length, avoiding sagging or excess fabric. When measuring, keep the arms relaxed and the body upright. If the tape is too tight, the shoulder width may appear smaller; if too loose, it may overstate the width. For a slim fit, a slightly tighter shoulder measurement may be appropriate, whereas a relaxed fit allows a bit more room. Always double‑check the sleeve length by measuring from the shoulder seam to the wrist, then adding 1–2 inches for cuff length. This ensures the jacket’s sleeves are neither too short nor too long, maintaining a balanced silhouette. Use a flexible tape and a helper if possible to maintain tension and alignment. Consistency across brands is key, so record measurements in both metric and imperial units for easy comparison. By following these steps, you can confidently select a jacket that fits your shoulders and sleeves perfectly, enhancing comfort and style. Check sleeve length against wrist size; a jacket should fit snugly without excess fabric for comfort and style now
Using Size Charts Effectively
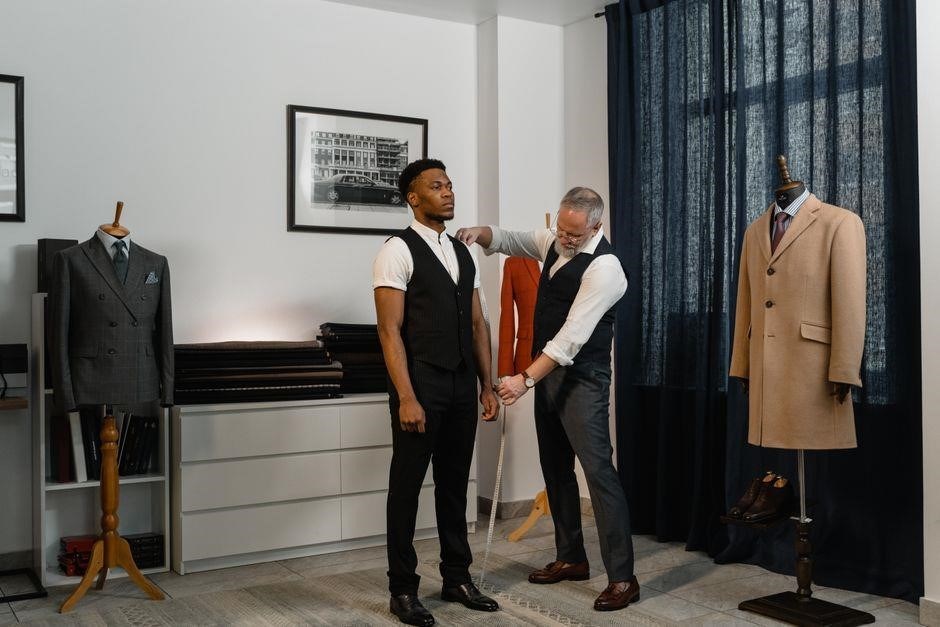
Size charts translate your chest, shoulder, and sleeve numbers into numeric or letter codes. Match your measurements to the chart’s ranges, noting the brand’s fit style. Adjust for slim, regular, or relaxed by selecting the appropriate column. Verify with brand guidelines before buying. Now.!
Decoding Numeric vs. Letter Size Indicators
Numeric sizing typically lists exact measurements in inches or centimeters, such as 38, 40, 42, indicating chest width. Letter sizing (S, M, L, XL) is a general range; a “M” may cover 38–40 inches. Brands often provide conversion tables, so you can cross‑check your chest, shoulder, and sleeve numbers against both systems. When a jacket lists “38/40” it means it fits a chest of 38 inches on the smaller side and 40 inches on the larger side, giving you a 2‑inch tolerance. Letter sizes are less precise; they rely on the manufacturer’s internal fit map. For example, a “L” might correspond to a numeric 42–44 range, but the same letter can vary between casual and formal lines. To decode, first measure your chest, shoulder width, and sleeve length. Then locate the numeric range that matches your chest measurement. If the brand offers a letter chart, find the letter that covers that numeric range. Some retailers also provide a “fit guide” indicating whether the jacket is slim, regular, or relaxed, which can shift the numeric range by a few inches. Always compare your measurements to the brand’s specific chart, not a generic one, because sizing can differ across manufacturers and styles. Finally, read customer reviews for fit notes; many shoppers mention whether a jacket runs small, true to size, or large, helping you decide whether to order your exact size or adjust by a half or full size. This systematic approach ensures you choose the correct numeric or letter size for a jacket that fits comfortably and looks sharp. Additionally, some brands use European sizing, where numbers like 44 or 46 correspond to chest measurements in centimeters. Converting these to inches (divide by 2.54) can help align them with US numeric sizes. When shopping online, always double‑check the size chart on the product page, as some sites list both US and EU dimensions. If the chart lists a range like 44–46, it means the jacket will fit a chest within that span. Remember that sleeve length is also critical; a jacket that is too short can look awkward, while one that is too long may appear bulky. Pay attention to the sleeve measurement column in the chart, and compare it to your own sleeve length. Some charts provide a “break” measurement for how much fabric hangs, which can affect the overall silhouette. Finally, consider the intended use: a lightweight bomber may be cut tighter, whereas a heavy wool pea coat might have a looser fit for layering. By aligning numeric and letter indicators with your exact measurements and the brand’s fit philosophy, you can confidently select a jacket that balances style, comfort, and practicality.
Adjusting for Slim, Regular, and Relaxed Fits
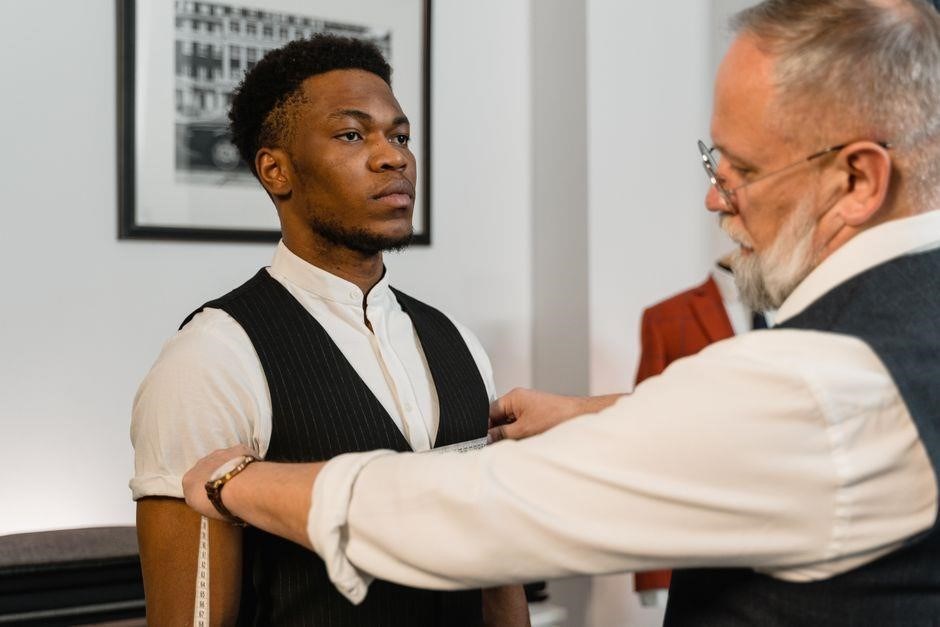
When selecting a jacket, the fit type—slim, regular, or relaxed—directly influences how your body measurements translate into the final garment. Slim fits are tailored to hug the chest and waist, often requiring a chest measurement that is 1–2 inches smaller than the numeric size indicates. Regular fits provide a moderate gap between the body and the jacket; here, the chest measurement should align closely with the numeric size. Relaxed fits, common in casual or outerwear styles, allow 3–4 inches of extra room, making them ideal for layering or a more laid‑back silhouette. To adjust, first take your chest width and compare it to the brand’s size chart. If you prefer a slim look, choose the next smaller numeric size or select a “slim” label if available; For a regular fit, stay within the chart’s stated range. If you opt for relaxed, select the next larger size or a “relaxed” designation. Sleeve length adjustments follow the same logic: slim jackets often cut sleeves shorter to accentuate the arm, while relaxed styles may have longer sleeves for a more generous appearance. Shoulder width is another critical factor; a slim jacket’s shoulders should align tightly with your natural shoulder line, whereas relaxed jackets may have a broader shoulder seam. Always read the brand’s fit description, as some use “tapered” or “athletic” to describe variations within slim or regular categories. Finally, consider the jacket’s intended use: a slim fit works well for formal or smart‑casual settings, regular fits suit business or casual environments, and relaxed fits excel in outdoor or casual contexts. By matching your measurements to the appropriate fit type and adjusting the numeric size accordingly, you can achieve a jacket that feels comfortable, looks proportionate, and meets your style goals. Fit is keyNow.
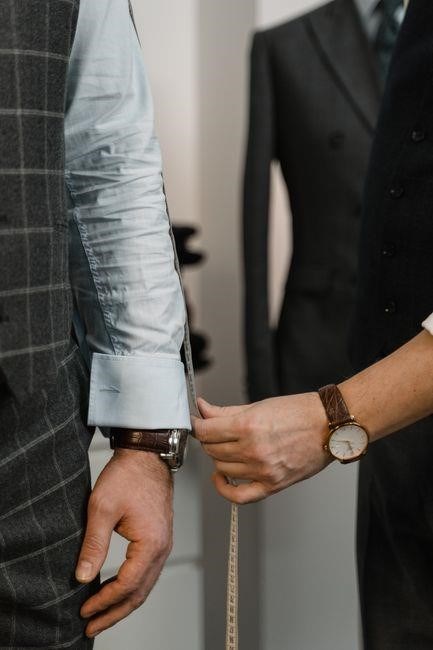
Style-Specific Measurement Tips
Peacoats should be longer; measure from shoulder to desired hem. Trench coats need a 2‑inch drop for a tailored look. Leather jackets fit snugly at shoulders; add 1‑2 inches for a relaxed feel. Bomber jackets require precise chest width for sleek silhouette
Peacoat and Trench Coat Length Considerations
Peacoats and trench coats differ in length logic. For a classic peacoat, the hem should fall just below the hips or mid‑thigh, offering a balanced silhouette that protects against wind while maintaining a polished look. Measure from the base of the neck to the desired hem; a standard peacoat length is roughly 28–30 inches for most men, but adjust upward by 2–3 inches if you prefer a longer, more dramatic cut. When selecting a trench coat, aim for a length that reaches the knee or slightly beyond. This not only provides adequate coverage against rain but also accentuates a streamlined profile. Measure from the collarbone to the knee, adding 1–2 inches for a relaxed fit. Keep in mind that fabric weight and drape affect final appearance: lighter materials may require a slightly longer cut to maintain shape, whereas heavier coats can stay shorter without losing coverage. Always try on both styles in a fitting room to compare how the length interacts with your body proportions, ensuring the coat sits comfortably at the waist and that sleeves terminate just above the wrist for a clean finish. Remember, a well‑measured length enhances both style and functionality, making your outerwear an investment rather than a temporary purchase.
Tailoring details like rise and seam placement refine fit, ensuring a flattering silhouette for a polished look today.!!!!
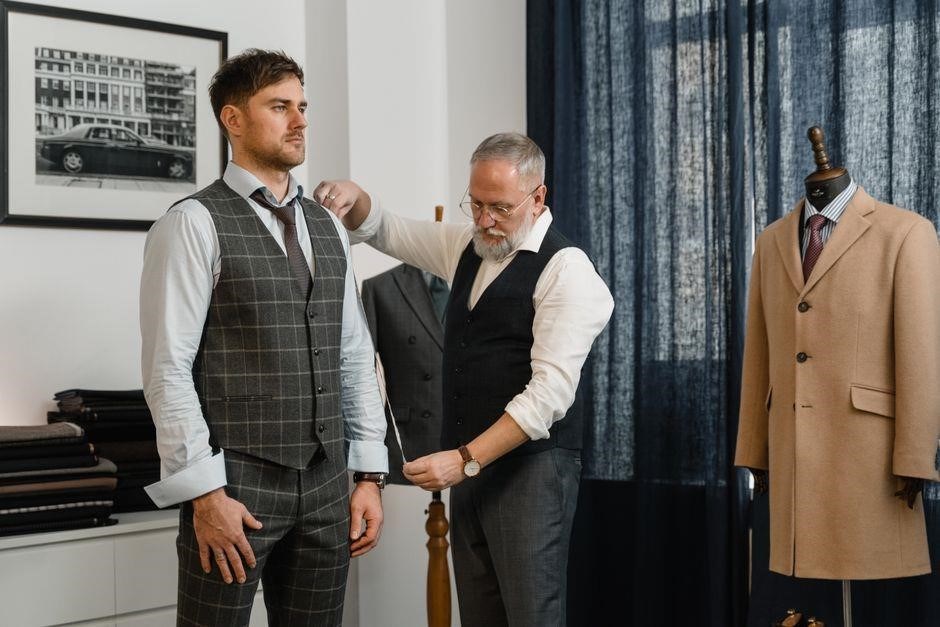
Leather, Bomber, and Casual Jacket Fit Adjustments
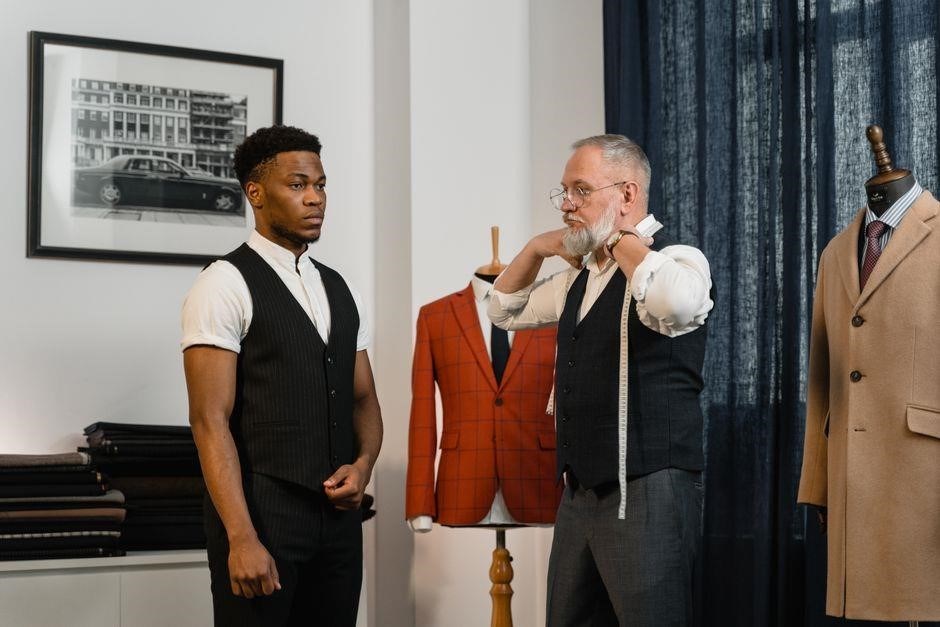
When sizing leather, bomber, and casual jackets, the key is to balance structure with comfort. Leather jackets often have a snug, tailored silhouette; measure chest, waist, and sleeve length, then add 1–2 inches to chest for a relaxed feel. Bomber jackets are designed for a slightly looser fit; use the same chest measurement but add 2–3 inches to allow layering. Casual jackets, such as denim or utility styles, typically follow a regular fit; measure chest and waist, then add 1 inch to chest and 1.5 inches to waist for a relaxed look. For all styles, ensure the shoulder seam sits at the edge of the shoulder bone, and the sleeve ends at the wrist bone for a polished finish. Adjustments for slim, regular, and relaxed fits are crucial: slim cuts require minimal extra inches, regular cuts add 1–2 inches, and relaxed cuts add 3–4 inches to chest and waist. Always try on the jacket with the layers you plan to wear; this helps confirm the length and sleeve length remain appropriate. Tailoring can fine‑tune the fit: shortening sleeves, taking in the waist, or adjusting the hemline will create a custom look. By following these guidelines, you can confidently choose a leather, bomber, or casual jacket that fits well and suits your style. Remember, a well‑fitted jacket not only elevates your appearance but also enhances comfort throughout the day. When you try on a jacket, always check the fit at the shoulders, waist, and sleeve length to ensure a balanced silhouette.
Final Steps Before Buying
Double‑check your measurements, compare them with the brand’s chart, and review return policies. Confirm fit guarantees, test the jacket in layers, and verify the size aligns with your style goals before purchase. Check the sleeve length and hem for silhouette!
Double-Check Measurements and Compare with Brand Charts
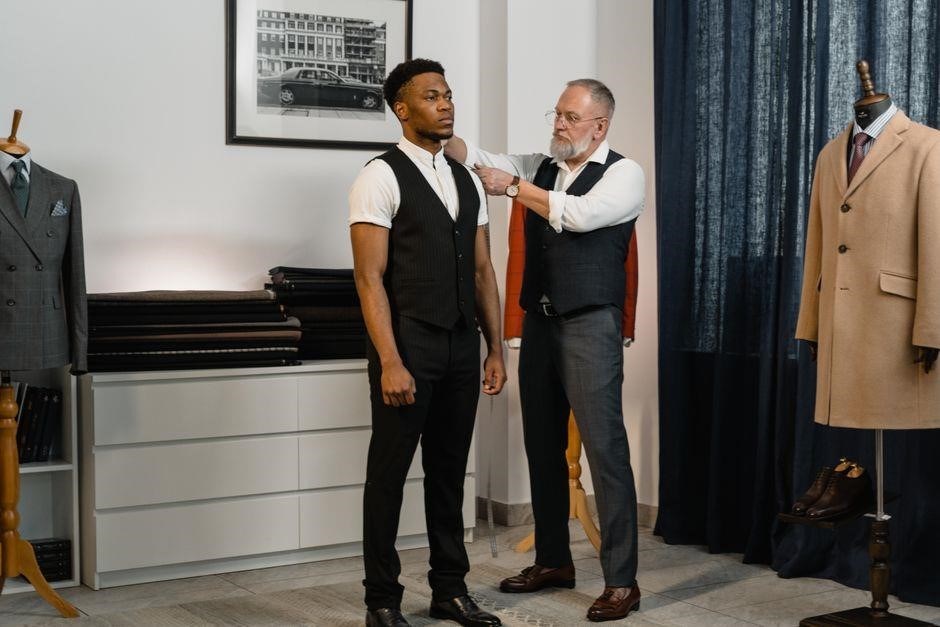
Before finalizing a jacket purchase, it’s essential to revisit every key dimension—chest, shoulder, sleeve, and length—using a calibrated tape measure. Measure with a friend or in front of a mirror to avoid slippage; ensure the tape lies flat against the skin without compressing the fabric. Record each value in inches or centimeters, depending on the brand’s chart. Next, locate the official size chart for the specific retailer or manufacturer; many online stores provide downloadable PDFs or interactive tools that map raw measurements to nominal sizes. Pay close attention to the chart’s tolerance ranges; some brands allow a ±1‑inch variance for chest, while others are stricter. Cross‑reference your numbers against the chart’s “fit” column—slim, regular, or relaxed—to determine the best match. If your measurements fall between two sizes, lean toward the larger size for comfort, especially if layering is planned. For brands that offer a “fit guide” or “size recommendation” feature, input your exact figures to receive a personalized suggestion. Finally, double‑check the sleeve length by measuring from the shoulder seam to the wrist; compare this to the chart’s sleeve dimension. A mismatch here can lead to sleeves that are too short or too long, affecting both aesthetics and functionality. By rigorously verifying each metric against the brand’s standards, you reduce the risk of returns and ensure the jacket feels tailored to your body from the first wear. Remember, a well‑measured jacket not only fits but also enhances confidence, making every outing a statement of style. When in doubt, consult the brand’s customer service; many offer live chat support to clarify size nuances.
Understanding Return Policies and Fit Guarantees
When shopping for a jacket, the return policy and fit guarantee are as critical as the measurements themselves; Most reputable retailers offer a 30‑day return window, but the exact terms can vary: some require the jacket to be unworn, with tags intact, while others accept gently used items. Always read the fine print for restocking fees, shipping responsibilities, and whether a return label is provided. Fit guarantees, often branded as “size‑free returns” or “try‑before‑you‑buy,” allow you to exchange or refund if the jacket does not meet your expectations. These guarantees typically cover dimensions such as chest, shoulder, sleeve, and overall length, ensuring that the garment aligns with the brand’s stated fit. Some companies provide a virtual fitting tool that compares your measurements to their size chart; if the tool flags a mismatch, the brand may automatically offer a complimentary exchange. It’s also common for premium brands to offer a “fit consultant” service, where a stylist reviews your measurements and recommends a size or adjustment. If a return is necessary, keep the original packaging and any included accessories, as many policies require the item to be in its original condition. Finally, track your return shipment with the provided tracking number and keep receipts; this documentation can expedite refunds or exchanges. By thoroughly understanding these policies before purchase, you safeguard against costly misfits and ensure a smooth, hassle‑free shopping experience today!