Pointillism, pioneered by Georges Seurat, uses tiny dots of pure color that blend visually at a distance. In the classroom, teachers guide students to experiment with dot placement, color theory, and optical mixing, creating vibrant scenes that reveal depth when viewed from afar. Students love color.!
Historical Context and Key Artists
Pointillism emerged in the late 19th century as a scientific approach to color, rooted in the theories of optics and color perception. After the Impressionists loose brushwork, artists sought a more precise method, believing that pure placed side-by-side would, when viewed from a distance, merge into harmonious hues. This technique was first applied by Georges Seurat in his 1886 masterpiece, A Sunday Afternoon on the Island of La Grande Jatte, where he used small, distinct dots of primary colors to construct a complex, luminous scene.
Teachers can use this historical narrative to show students how scientific ideas shaped artistic practice, encouraging them to experiment with color theory while respecting the method’s disciplined structure. Practice now daily!
Lesson Objectives and Learning Outcomes
Teachers will guide students to identify the core principles of pointillism: optical color mixing, dot density, and spatial arrangement. Students will learn to apply primary colors in discrete dots, observe how the eye blends them, and create a cohesive image from afar. By the end of the lesson, learners should be able to: 1) explain the historical roots of pointillism and its scientific basis; 2) demonstrate the technique by producing a small‑scale seascape or plant motif using a limited palette; 3) analyze the effect of dot size and spacing on perceived brightness and hue; 4) reflect on how the method encourages precision and patience; and 5) articulate how pointillism differs from traditional brushwork. Assessment will focus on accuracy of dot placement, color harmony, and the ability to convey depth through optical blending. Students will also complete a self‑reflection sheet to consolidate learning and set goals for future practice. This structured approach ensures that each learner gains both conceptual understanding and practical skill, preparing them for more advanced studies in color theory and mixed media techniques. In addition, the lesson incorporates collaborative critique sessions where students compare dot density charts and discuss the impact of color saturation on mood. The teacher will model how to adjust dot placement to create gradients and shadows, reinforcing the concept that subtle variations in dot size can produce dramatic tonal shifts. Students will experiment with different tools—cotton swabs, fine brushes, and even digital dot generators—to explore how medium influences dot texture. By integrating technology, learners can visualize the optical blending process in real time, deepening their appreciation for the interplay between science and art. Finally, the lesson culminates in a gallery walk where students present their work, receive peer feedback, and reflect on how pointillism’s disciplined approach can inspire creativity across disciplines.

Materials and Preparation
Before the lesson, assemble a comprehensive kit that supports both the Seurat‑inspired seascape and the plant‑theme projects. The core items are: a 24‑page Seurat unit guide (published 2023‑09‑03, available online), 12‑inch primaries (red, blue, yellow), white acrylic, black, and a selection of cotton swabs (sizes 0‑4). Add fine‑tip brushes (sizes 0‑2) for precise dotting, watercolor pencils for on‑board mixing, and a white drawing board or canvas. Each student receives a sketchpad, a ruler, a protractor, and a small magnifying glass to examine dot density. For the botanical lesson, provide reference prints of leaves, flowers, and stems. Prepare a color wheel chart illustrating complementary, analogous, and triadic relationships to guide color choice. Set up a U‑shaped classroom layout with stations labeled “Dot Size 0.5‑1.0 mm”, “Dot Size 1.0‑1.5 mm”, and “Dot Size 1.5‑2.0 mm” to help students choose appropriate tools. Test each tool on a scrap sheet to confirm consistent dot production. Allocate 30 minutes for pre‑lesson discussion of optical mixing, followed by a 10‑minute demonstration of dotting technique using a small canvas. Encourage students to experiment with dot spacing to create gradients. Provide a digital slide deck summarizing Seurat’s biography and key works, and include a printable dot density chart for reference. Use a timer to manage each activity segment, ensuring balanced time for instruction, practice, and critique. Include a safety brief on handling acrylic paint and cleaning cotton swabs to prevent skin irritation. Provide a color‑mixing worksheet that asks students to predict the resulting color of two primary dots placed side by side. After the activity, students will fill a reflection sheet noting dot density choices and color outcomes. All materials should be stored in a dedicated art‑supply cabinet, with cotton swabs labeled by size. This preparation ensures a smooth, engaging, and educational experience, allowing students to focus on the creative process rather than logistical hurdles.
Warm‑Up Exercise: Dot Placement Practice
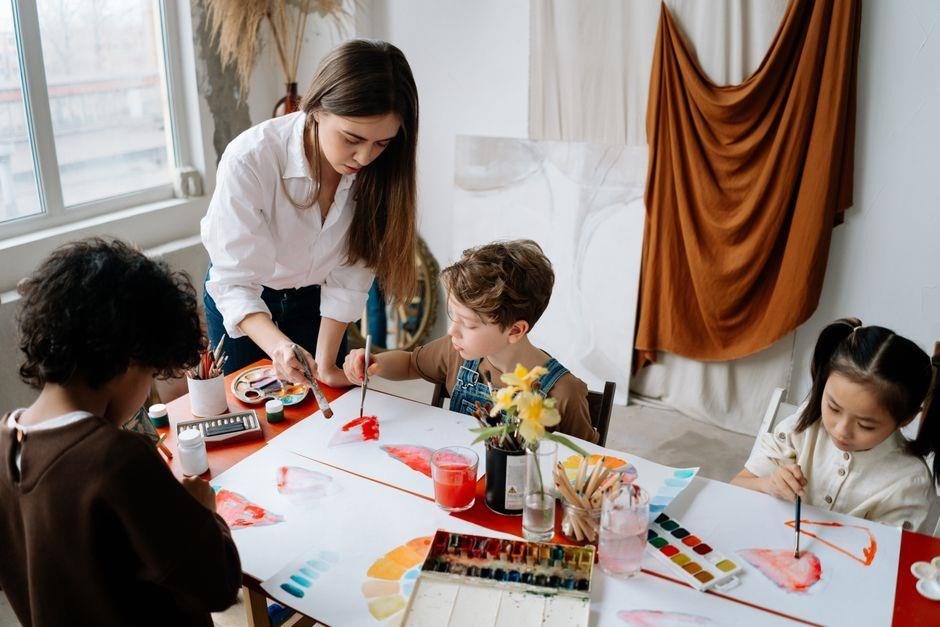
Begin the session by inviting students to a quick, focused drill that hones their precision and rhythm. Provide each child with a 12‑inch primaries set (red, blue, yellow), white acrylic, and a selection of cotton swabs (sizes 0‑4). Arrange the swabs on a tray, labeling each size with a color‑coded sticker. Students should first practice single‑color dots on a white sketchpad, placing dots in a straight line spaced 1 cm apart. After five minutes, have them switch to a 2‑cm spacing, noting how the visual density changes. Next, introduce a “dot‑grid” template: a 5 × 5 grid with 1 cm squares. Students must fill the grid with dots of a chosen primary color, ensuring uniform spacing. Encourage them to experiment with dot size by using the smallest swab for a 0.5 cm dot and the largest for a 1.5 cm dot. Record observations on a quick worksheet: dot size, spacing, and perceived color intensity. This exercise builds muscle memory for the optical blending that will be used in the Seurat‑inspired seascape and plant‑theme projects. It also reinforces the concept that color perception is a function of dot density and spacing, a principle central to pointillism. Conclude by having students compare a 1 cm dot grid to a 2 cm grid, discussing how the image appears brighter or more muted. This warm‑up sets the stage for the main lesson, ensuring that each student is comfortable with the basic tools and concepts before moving into full‑scale composition.
Students will leave the warm‑up with a clear understanding of dot placement, ready to create vibrant, blended images that capture the essence of pointillism.
The teacher should circulate, offering individualized feedback on dot density and spacing, and ask students to adjust their technique accordingly. This hands‑on practice reinforces the theoretical concepts discussed earlier and primes the learners for the upcoming creative projects.
Demonstration of Pointillist Technique
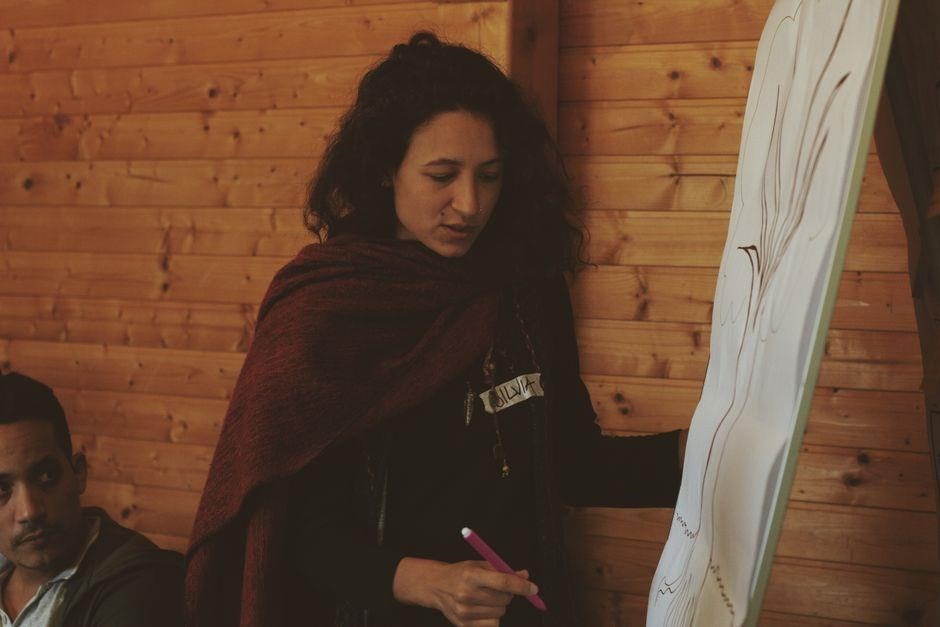
Begin by showing a high‑resolution image of Seurat’s “A Sunday Afternoon on the Island of La Grande Jatte” and point out how each pigment is rendered in discrete dots. Explain that the artist mixed primary colors—red, blue, yellow—and white to create secondary hues, relying on optical blending rather than physical mixing. Use a white canvas and a set of 12‑inch primaries. Demonstrate dot placement: start with a 1‑cm grid, applying a single dot per square. Then, overlay a second color in adjacent squares to illustrate how the viewer’s eye blends them into a new tone. Show how varying dot size (0.5‑cm to 1.5‑cm) changes perceived intensity. Emphasize the importance of spacing: tight clusters produce a richer, more saturated area, while sparse dots yield a lighter, more translucent effect. Next, create a simple seascape motif—a horizon line, a sun, a sailboat—using only dots. Highlight how to build depth by layering colors from the background toward the foreground, gradually increasing dot density. Finally, discuss how to maintain color harmony by keeping the palette limited to primary and secondary colors, adding white for highlights, and black for shadows. This understanding prepares them for projects where they apply principles to craft seascapes and botanical scenes. During demo, shows how create without mixing.! Students see how the eye blends individual dots into tones, proving pointillism relies on perception. This understanding prepares them for the projects where they apply the principles to craft seascapes and botanical scenes.

Student Activity – Seurat-Inspired Seascape
Students will create a seascape that echoes Seurat’s dot technique. Begin by selecting a reference image of a calm shoreline. Provide each student with a 12‑inch canvas, a set of primary paints (red, blue, yellow), white, and black. Instruct them to sketch a light horizon line with a pencil, then outline a simple sailboat and a distant horizon using thin, evenly spaced dot patterns. Emphasize the use of a 1‑cm grid to maintain consistent dot size. Students should place single dots of pure color, allowing the eye to blend them into secondary hues. Encourage layering: first lay the background sky with light blue dots, then add white dots to suggest clouds, and finally dark blue dots for depth. For the sea, alternate blue and green dots, increasing density near the shore. The sail should be rendered with red and yellow dots, with white highlights to create a luminous effect. After completing the dot work, students may lightly blend edges with a soft brush to soften harsh transitions, but the primary focus remains on dot placement. Conclude by discussing how optical mixing creates the illusion of color and depth, reinforcing the lesson’s objectives. Use a ruler to keep dots evenly spaced. Students should also experiment with color temperature by placing warm reds near the horizon and cool blues in the upper sky, observing how the dots shift perception. They can test the effect of dot density by creating a gradient from sparse to dense, noting how the image’s brightness changes. Encourage reflection on how the technique mirrors natural lightly.

Student Activity – Plant-Theme Pointillism
Students will translate botanical imagery into a dot‑based composition. Begin by selecting a high‑resolution photograph of a single plant or a small garden cluster. Provide each student with a 10‑inch canvas, a set of acrylics (primary colors, black, white), a fine‑pointed brush, and a ruler. Instruct them to first sketch a light outline of the plant’s silhouette with a pencil, then overlay a 1‑cm grid to guide dot placement. Students should place individual dots of pure color, allowing the viewer’s eye to mix them optically. For foliage, alternate green, yellow, and blue dots, increasing density near the leaf edges to suggest depth. Use darker greens near the stem and lighter greens toward the tip. For the background, apply a subtle gradient of light blue and white dots to simulate sky or soil, adjusting dot spacing to create a soft backdrop. Encourage experimentation with color temperature: place warm reds or oranges near the base to evoke sunlight, and cool blues higher up to convey shadow. After completing the dot field, students may lightly blend edges with a soft brush to soften harsh transitions, but the primary focus remains on dot placement. Finally, have students step back at a distance of at least 3 feet to assess color blending and overall composition, noting how the dots coalesce into a cohesive plant image. This activity reinforces optical mixing, spatial awareness, and the expressive potential of pointillism in botanical contexts and try.!
Assessment and Feedback
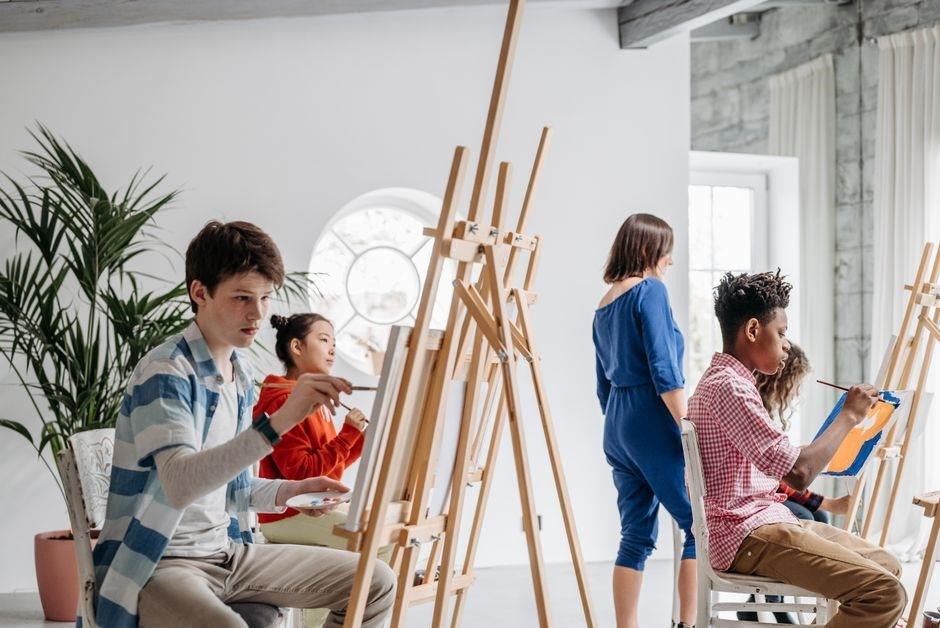
After the plant‑theme activity, teachers evaluate dot density, color harmony, and optical blending. They give concise comments on strengths and improvement areas, using a simple rubric to rate technique, creativity, and pointillist adherence. Students reflect set next goals!.
Assessment Rubric for Dot Density and Color Blending
Teachers use a clear rubric to evaluate each student’s pointillist work. The rubric focuses on two core dimensions: dot density and color blending; For dot density, students receive points for consistent spacing, appropriate dot size, and coverage of the canvas. For color blending, points are awarded for correct use of complementary colors, successful optical mixing, and overall harmony. Each dimension is scored on a 0‑5 scale, with descriptors for each level. A 0 indicates no effort or incorrect technique, while a 5 reflects mastery and creative application. Teachers provide written feedback highlighting strengths, such as precise dot placement or effective color contrast, and suggest specific actions for improvement, like adjusting dot spacing or experimenting with secondary colors. The rubric also encourages reflection, prompting students to explain their choices and how they achieved the desired visual effect. This structured assessment supports learning goals and promotes growth in pointillist skills.
Students are encouraged to experiment with dot placement and color combinations, creating unique visual effects.
The rubric also prompts students to reflect on their dot density choices, noting how dot size and spacing influence color blending. By comparing their work to Seurat’s original studies, learners gain insight into optical mixing and the science behind pointillist art.
Practice mastery art!!
Self-Assessment Reflection Sheet
After finishing your pointillist canvas, pause to reflect on the creative journey. Use the prompts below to evaluate dot density, color blending, technique, and composition. This self‑assessment encourages deeper insight and future growth.
- Dot Density: Did you keep dot size and spacing uniform? How did any irregularities affect the overall texture?
- Color Blending: Which color pairs produced smooth optical mixing? Where did the colors clash or fail to blend?
- Technique: How did your chosen tool (brush, cotton swab, or fingertip) influence dot placement and texture? Would a different tool improve the effect?
- Composition: Does the arrangement of dots create a balanced, engaging composition? Are focal points clearly defined?
- Learning Goals: Did you meet the objectives set at the start of the lesson? Which skills have you strengthened?
- Future Goals: Identify one specific area to focus on next time. How will you apply this knowledge to future projects?
Write your responses in the space below, then share with a peer or teacher for constructive feedback. This reflection solidifies learning, highlights strengths, and guides the next steps in mastering pointillism.
Differentiation Strategies
Teachers can tailor pointillism instruction to diverse learners by adjusting materials, complexity, and support. Below are evidence‑based approaches drawn from current classroom resources and research on Seurat‑style projects.
- Material Variation: Offer cotton swabs, paintbrushes, and foam tips so students choose tools that match their fine‑motor skill level.
- Color Palette Scaling: Provide a primary‑color set for beginners and a full spectrum for advanced students to practice optical mixing.
- Guided vs. Open Practice: Begin with structured dot‑placement grids for novices, then transition to free‑form compositions for those who master the technique.
- Visual Supports: Use step‑by‑step diagrams and video demonstrations for visual learners, and verbal explanations for auditory learners.
- Peer Collaboration: Pair students to critique dot density and color blending, fostering social learning and peer feedback.
- Extension Projects: Challenge advanced learners with plant‑theme pointillism or mixed‑media hybrids for learning OK
By layering these strategies, educators create an inclusive environment that supports all students while encouraging mastery of pointillist techniques.

Extension Activities for Advanced Students
For learners who have mastered basic dot placement, teachers can deepen engagement with sophisticated projects that blend pointillism with other media and analytical skills. These activities encourage critical thinking, research, and creative synthesis.
- Historical Context Essay: Students research Seurat’s life, the Neo‑Impressionist movement, and the science of color mixing, then write a short essay linking theory to practice.
- Mixed‑Media Collage: Combine acrylic pointillist layers with collage elements (fabric, paper, found objects) to explore texture and depth.
- Digital Pointillism: Use graphic tablets or software (e.g., Procreate, Photoshop) to create high‑resolution dot paintings, experimenting with pixel‑level control.
- Color‑Science Lab: Conduct experiments with complementary colors, saturation, and hue to observe optical blending, documenting results in a lab notebook.
- Collaborative Mural: In groups, design a large mural where each student contributes a section using pointillism, then assemble into a cohesive whole.
- Portfolio Presentation: Compile a portfolio of works, annotate techniques used, and present to peers, reflecting on growth and challenges.
- Cross‑Cultural Comparison: Students compare pointillist techniques with traditional Japanese ukiyo‑e or Chinese dot painting, noting similarities and differences.
- Public Exhibition Planning: Students design a gallery layout, write labels, and curate their own pointillist show for the school community.
These extensions foster advanced technical skill, interdisciplinary knowledge, and reflective practice, ensuring that students remain challenged and inspired.
Safety Precautions and Clean-Up
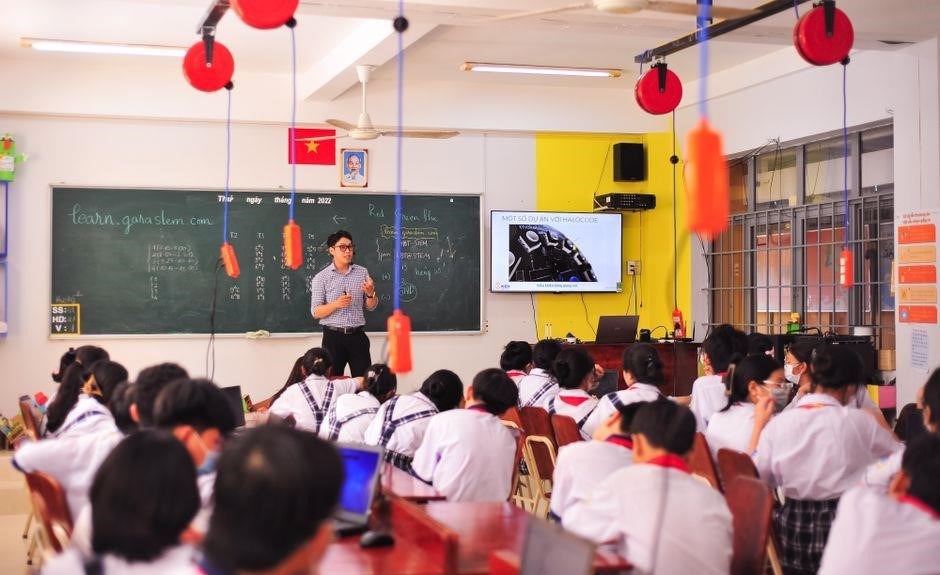
Before beginning, ensure all students wear protective gear: disposable gloves, long sleeves, and goggles if acrylics are used. Provide a well‑ventilated workspace and keep all materials on stable tables. Keep a first‑aid kit within arm’s reach and label any hazardous substances. When using powdered pigments, instruct students to avoid inhalation by wearing masks or working in a fume hood. For cotton swab experiments, supervise the use of cotton to prevent choking hazards, especially for younger learners. After the lesson, gather all brushes, tubes, and leftover paint. Rinse brushes immediately with warm soapy water, then rinse with clean water until the soap is gone. Dispose of paint waste in a sealed container and follow local regulations for hazardous waste. Store unused pigments in airtight containers to prevent dust accumulation. Keep the classroom floor dry by placing absorbent mats under workstations, and clean up spills promptly with paper towels. Finally, encourage students to wash their hands thoroughly after handling pigments and to store all art supplies in designated areas to maintain a safe, organized environment. Throughout the session, teachers should model proper brush handling, demonstrate how to mix colors on a palette, and emphasize the importance of patience, as pointillism requires meticulous dot placement and a steady hand. Students should also practice cleaning brushes between color changes to prevent cross‑contamination and maintain the integrity of each hue. Keep the area tidy and clean.!!
Resources and References
For teachers planning a pointillism unit, a variety of ready‑made materials and scholarly references are available. The Georges Seurat Pointillism Teaching Resources and Lesson Plans – Kids Art Projects 101 offers a 24‑page unit guide that covers objectives, materials, and step‑by‑step activities for preschool through grade 2. This guide includes printable worksheets, color‑mixing charts, and a detailed assessment rubric. The Plant‑Theme Pointillism Lesson targets secondary key stages and provides a structured curriculum that teaches optical mixing, dot density, and composition. It is available as a downloadable PDF and as a PowerPoint presentation, allowing teachers to adapt the content to classroom or remote settings. For visual reference, the Metropolitan Museum of Art’s online collection features high‑resolution images of Seurat’s Le Gare‑Saint‑Lazare and Un Journée à l’Île‑de‑la‑Cité, which can be used for comparative analysis. The Met Museum also offers lesson plans that incorporate pointillism techniques. Additionally, the Tate’s online glossary provides concise definitions and historical context. Supplementary texts include the book Pointillism: A History by John Smith and the online lecture series Color Theory in Pointillism by the University of Paris. Teachers can also explore the interactive Dot Density Calculator on the Art Education Portal to help students quantify dot placement. These tools enable teachers to enrich lessons with engaging activities for.